Printmaking


Monotype
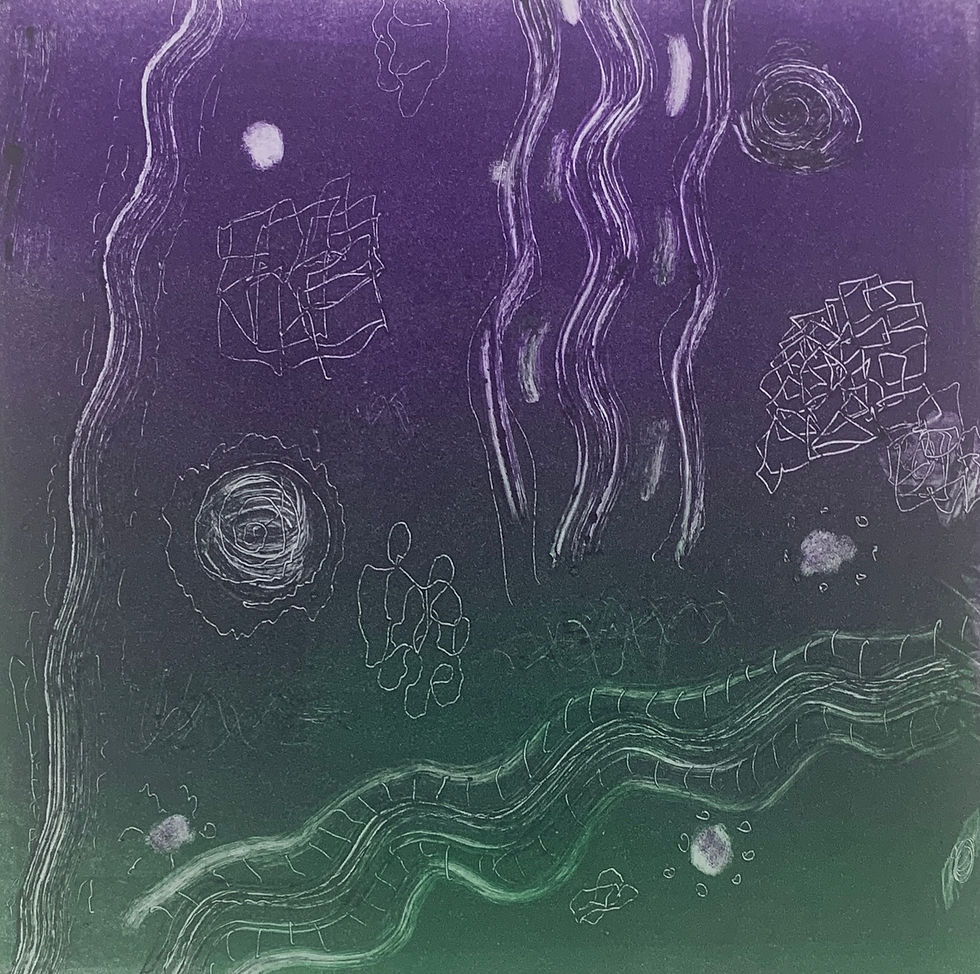
Experimentation
These prints are experimental, as they taught me how to ink up properly, the glass palette, and how much pressure needed to be applied. I decided to draw into the ink in a reductive way, taking ink away with a wooden skewer, and drew a raccoon. In the green and purple ones, they were meant to experiment with different materials and how they look, like with a scouring pad, q-tip, gambol, oil and other random materials.

Relief and Narrative
This print taught me how to crave into linoleum blocks. The process is long, but creates more dynamic results, especially with the ability to carve in layers of color. The narrative for this print is based off of the poem "Now Close the Windows." The themes of this poem is to state that it is okay to shut off the world to do better for yourself. The process was long because we got to carve into the block, print it, the carve it again in areas you want to first layer of color to be kept, and repeat it however many times needed. This process required a lot of thought in what to carve in what step, and what colors to do in certain orders in order to be able to be shown through. This taught me more about organization and labeling to help better the skills of printmaking.

Dry Point Illustrative Alphabet
The goal of this piece was to use AI to help generate a composition in which we had to pick a letter, and then two other elements that started with that letter. We then refined the composition to make more sense and more appealing. We had to etch in groves into think plexiglass with a think needle in order to create value and textures. This process taught us about how to use AI in a beneficial way, pressure, texture, value and hatching techniques to apply to other disciplines, like drawing and painting.

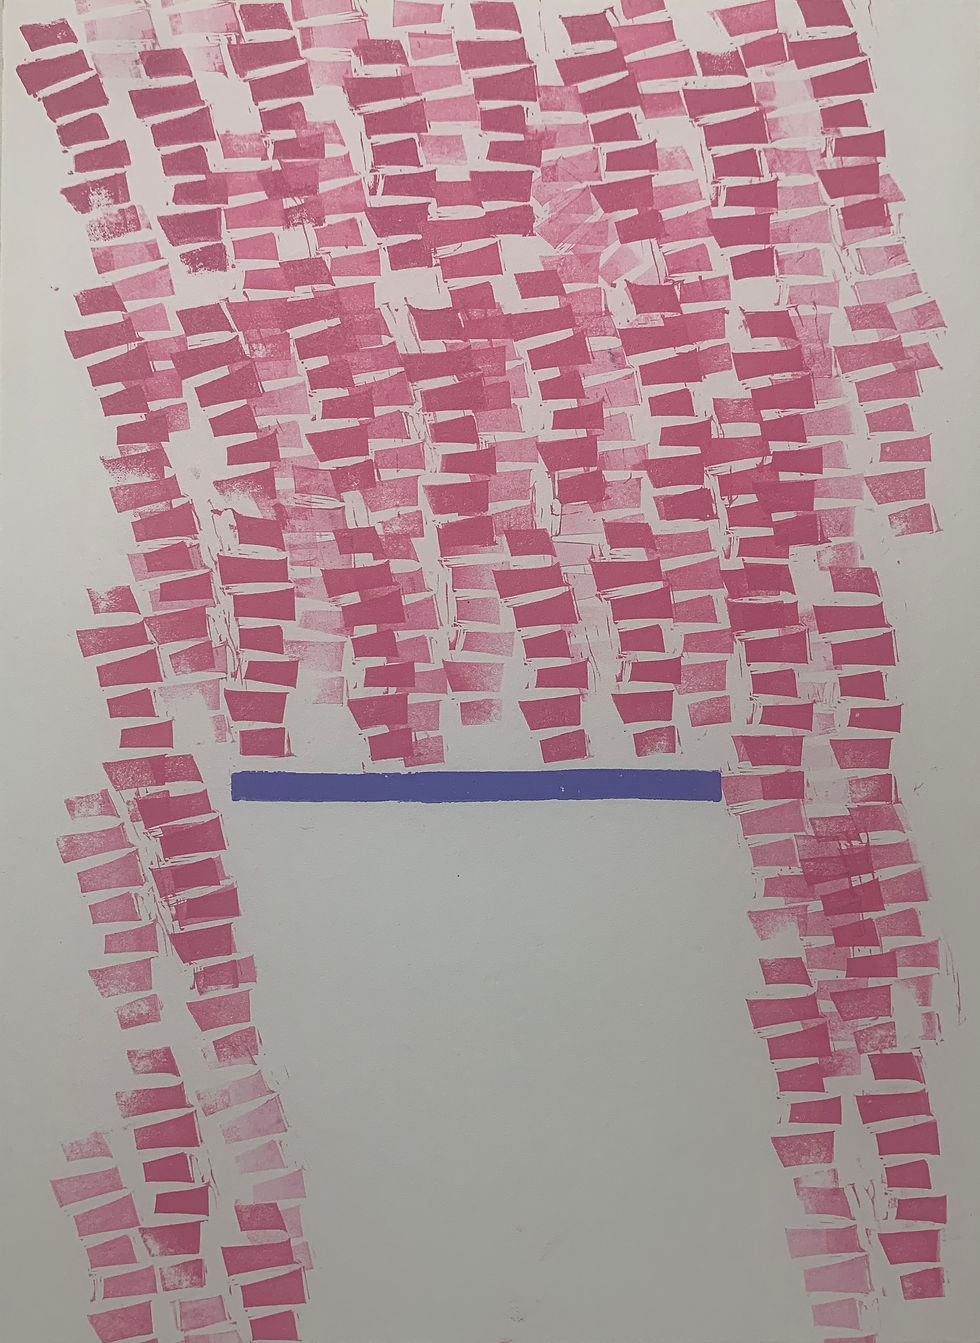

Stamping: Building and Disrupting Patterns
The goal of these prints was to take simply made stamps, and make them more complicated by creating patterns, but then disrupting them with either other patterns or colors. This was a simple exercise to take in about composition and color and how these elements can tell, but also change a story with these disruptions. We also had to take in account about cleanliness and fingerprints, which I struggled with these prints because we had to handle the stamps themselves rather than using a press.


Barn Quilt Squares and Mixed Media
This is was an introduction to screen printing with using cut paper stencil. It taught us how to print with the ability of how much ink to use, how to align different stencils, and how to clean up the screens. We had to come up with a barn quilt square design and use 4 colors. Of those 4 colors we had to use and cut 4 paper sensils. We had to consider which order to print them in, along with color order since some are more transparent than the others. This taught me organization, layering and alignment. For the second part of this assignment, we had to introduce a different media into the final print. I decided to use thread since I know a little bit about sewing and embroidery. It just taught me how introducing another media can elevate your art, and add opportunity of discovery.

Monster Prints Using Screen Filler
We got introduced to using screen filler for this project with the themes of a Monster Senior Portrait. We had to take in consideration of how the monster was posed, their facial expression, props and other things that could be added to represent their personality. I decided to do a skater monster named Decklan who has a tenticle skate board, who wears a sick looking tooth necklace. This process, we used screen filler, which isn't permanent on the screens. We would use it, print a color, and then repeat the process to add layers of color to make our prints. We were also introduced to drawing fluid for finer detail, like in the black sections of my prints, because drawing fluid isn't as thick, and washes off rather than stays on the screen. I wasn't a big fan of this process, but appreciated how flexible it is to use.


Feline Fine
This was an introduction of using photo emulsion along with using hand transparencies to make our designs more precise and accurate. I designed this on Illustrator, then traced it on transparency paper, then exposed it with photo emulsion under black light. I enjoyed this process for how accurate it was, and how permanent it was. I also enjoyed how we experimented with different elements. The first print was just a black ink print. The second print is of a split fountain of two different inks with more a gradient, I did another one just experimenting with a drizzling affect. The third print we introduced color using cut paper stencils, which I did a blue tie. The fourth print is a collage of different elements from either other peoples screens, or mess-ups. I used transparent base for some of the inks to make them more transparent, but also took elements from others screens, like the ducks to add to the composition. This was a mess-up print because some of the ink went on the open parts of the screen, but I embraced that mistake to make it into something more pleasing to look at!